Kung Fu Maintenance demonstrates how to stop dishwasher from flooding water from sink counter top air gap when running plus draining.
The air gap– so just advance it to the next cycle. There it goes. Oops, and it is leaking from the air gap. Sometimes I can unplug these by blocking the top, and sticking my hand down, and feeling to where the garbage disposal line is. So it will shoot out of the top when I do this. But sometimes I can get it to clear out. But not this time.
We’re going to need a special tool there to clear that. You can see where it drains into the disposal, right here. Anyway, I’ll clear that all out, and get going. So our dishwasher is clogged here, and we need to unclog it. What I’ve got is this. It’s like a really long bottle brush, an air gap cleaning tool.
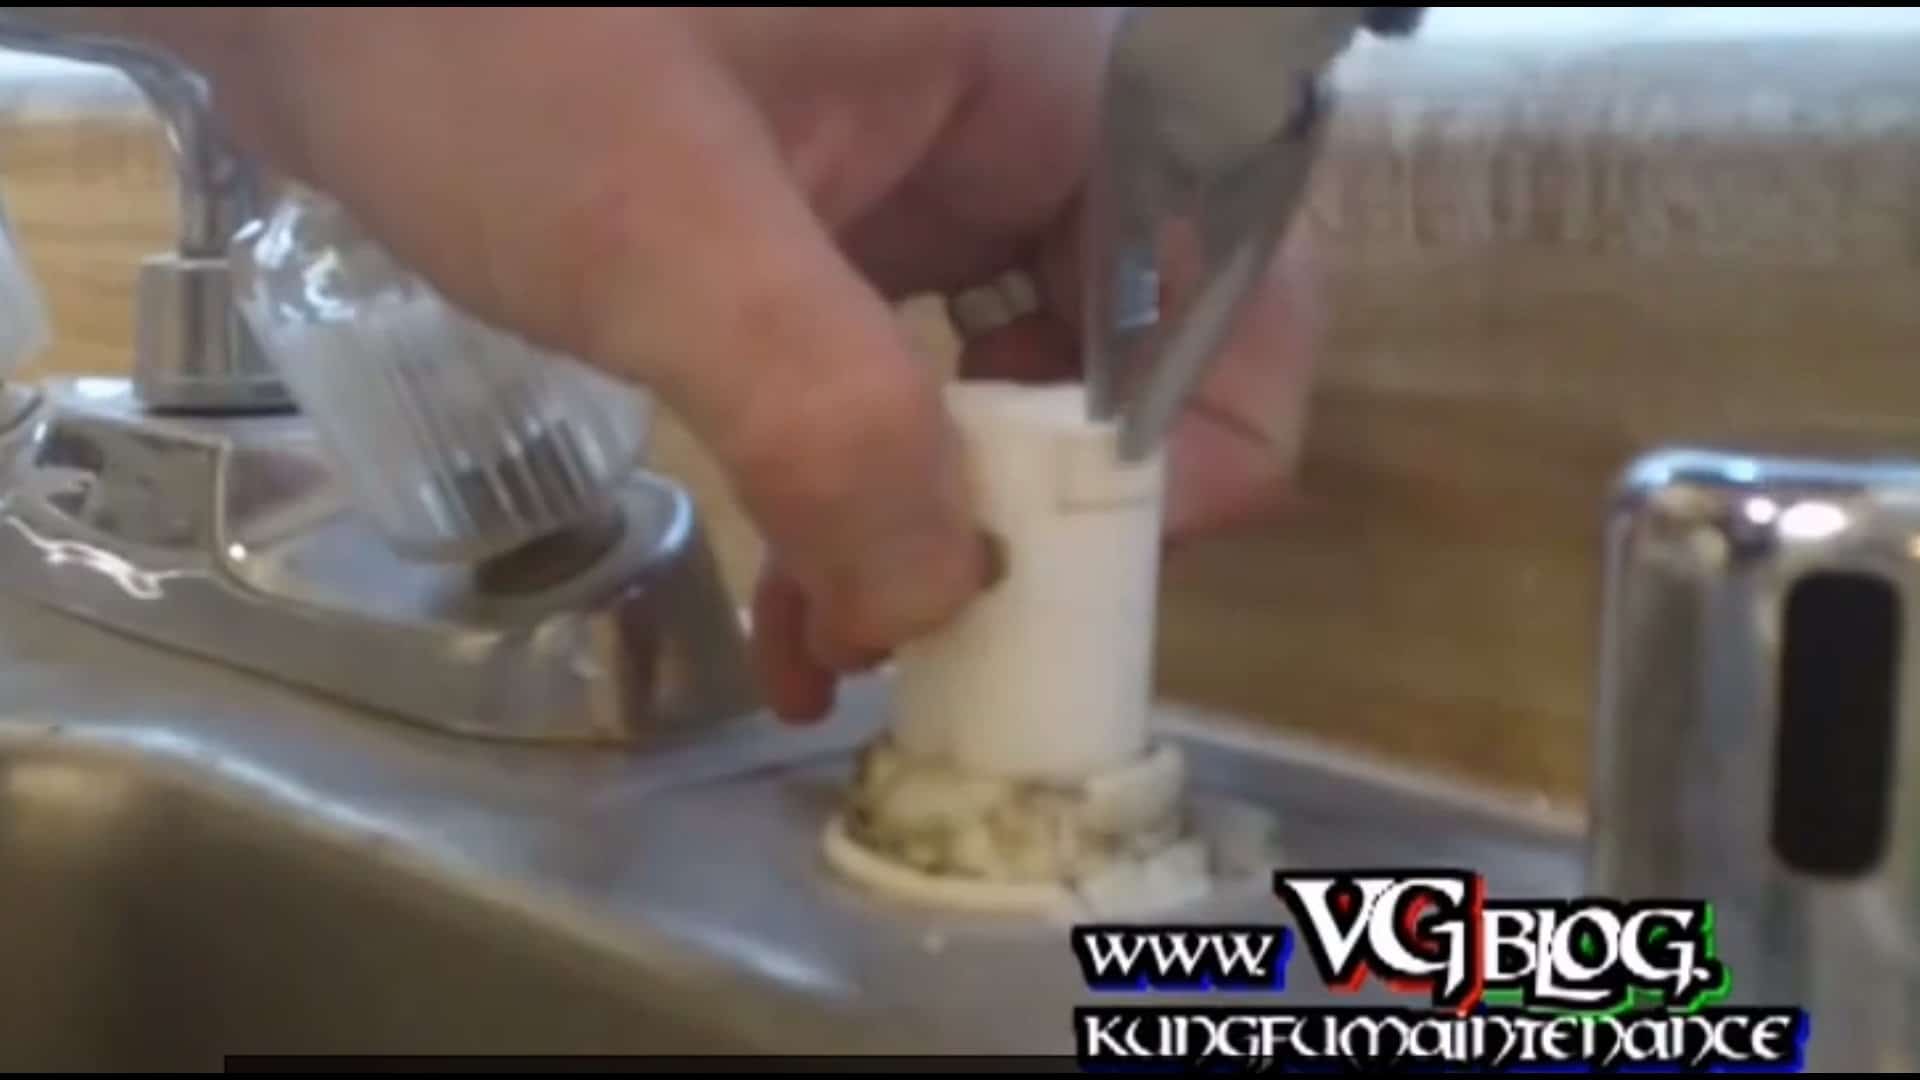
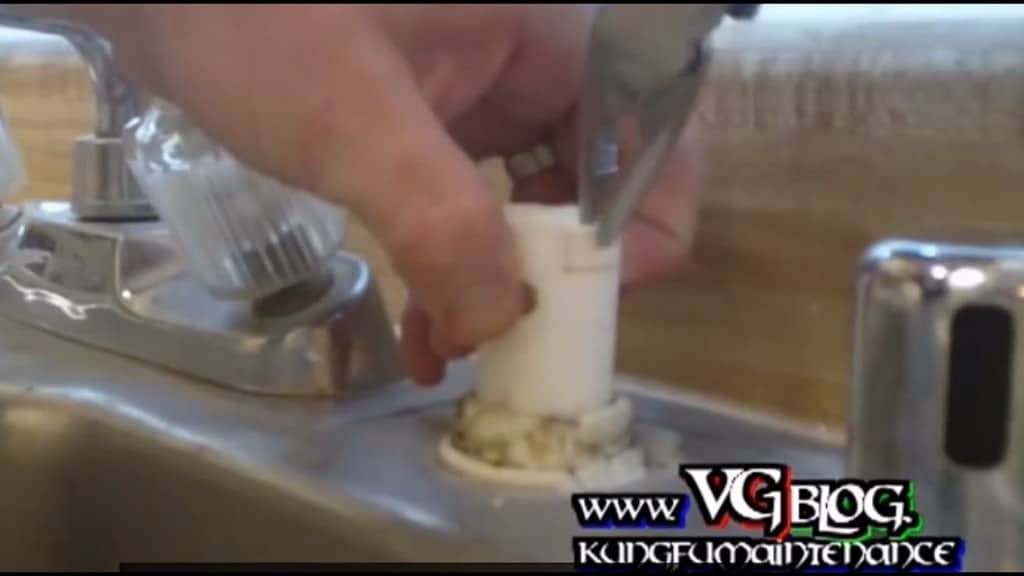
It extends and pushes down through the air gap. What you do is pull the little cap off here. Some of these will have a screw on type, and you can unscrew those. For this particular kind, you just squeeze, and then pull. You just press in the two taps here, and pull it out.
And it’s a good thing we’re doing this. If we look up top in the air gap, look at all that stuff that’s stuck in there. So this is kind of gross, but it’s got to be done. Anyway, it’s like chicken bones. And it’s all hanging up the dishwasher, keeping it from draining properly. So now I’m going to run the air gap tool down through the line.
And when you pull this back out, you want to avoid splatter and stuff with it. But basically, this will push all the way down. And we may be able to see it come out, into the disposal, here. Let’s see if I can shed some light on it, here, so you can see better.
Anyway, it’s just long enough to poke into the disposal, right there. Anyway, when I pull it back out, it’s going to be all covered with a bunch of gunk. Up on top, you kind of shield it with you hand, or block it with a rag, or do whatever you’ve got to do to keep this from getting all over the place. Pull it out, nice and easy. There we go. And we’ll rinse that all off.
Now, inside here, where it empties into the disposal, I can feel a small ridge around the disposal, itself. So let me show you how to clear that up. And basically, we’re going to remove the line from underneath. And what happens on these garbage disposal installs– you can see my other video on how to install a garbage disposal, for one of the most often missed steps.
When installing a disposal, let me show you, here. We’re going to remove the top clamp, and pull the disposal hose off. Now if your disposal’s really old, this may not be worth it, because it can crack right here, when you go to pull it off. But if it’s not too old, just kind of gently pull this off.
OK. we’re going to look inside here, and make sure that’s all clear. But where we’re looking is right here. And I’ll try to show you the ridge. Maybe I can just overlay another video, and show you the ridge there. And it’s there. Oh, let’s see. I think I need a better flashlight. OK. Let me show you from the flap, here. There we go.
OK. Can you see the little ridge, all the way around outside? Well, as your food goes in there, all of that’s going to be hanging up around there. So what I’m going to do is take the flat blade of my knife and then just take that ridge right off, just by going around the inside of it, right here, all the way around, until it’s nice and smooth.
I think that’s it. It’s really easy, but it really makes a difference, because that ridge, there, really allows food and stuff to hang up on it. I can still see a tiny bit, up on this left side. I’m going to try to get that. You can go through this with that. OK.
And now, looking through there, you can see how it’s all clear. So now there’s not going to be any place for food and debris to hang up, as much. And that will keep things all clear. So this kind of like the ultimate preventative maintenance step of your dishwasher is keeping that line clear.
When you tighten this on, you don’t want to tighten it down too tight. Just snug is good. It can crack where the garbage disposal seam is. It goes right across that spot. So that’s something else you want to be aware of. OK. Now we can test out our– well, now we can put our disposal back together, our air gap back together. Put this cap back on.
Again, it just squeezes. Some of them, you will have to look at this particular direction. This one goes– this one can actually go either way. Make sure it’s snapped into place. Set our air gap cap back on. Get my flashlight out of the drain. And now we’re ready to test it out. So, here it goes. Turn the dishwasher on. Latch it closed. And it looks like this one’s missing some screws, so I’m going to need to mount that to the cabinet better, also. But it’s in there for testing purposes.
So you can hear, now, it’s on its fill cycle, and once that fills, I’ll just advance it to the drain cycle, and we’ll take another look, and see what happens. And it can be some pretty nasty stuff. So it’s a good idea to wear gloves for when you do this. OK, fill cycle is filled. So we’re just going to advance the timer to the drain cycle.
And take a look at our air gap. Everything’s going good. Looking down in our disposal, you can see it draining out like it should. We’ve got a lot of soap residue, it looks like, in there. It would be a good idea to run the disposal. That’s good. You can also check down here for any leaks, make sure everything is good there. And it is. We’re all set there. No more flooding.

