OK, we’ve got an AC just barely cool in here. Kind of low on freon. Compressor’s pretty hot to the touch. Unit’s still running.
Im going to be charging up through the low side. You’ve got a tiny leak at the evaporator. So we’re going to be using a micro additive. Got our gauges calibrated.
We’ve got a couple of things we can make better. Got our new fan capacitor. We could secure that up. Make that better.
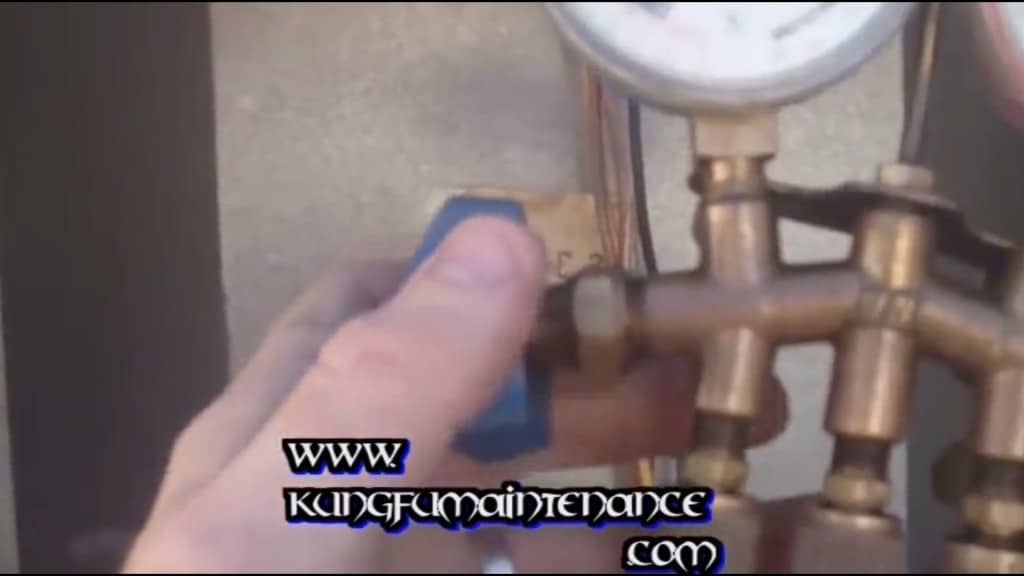
Make sure all our gauges are turned off here. And I’ll remove the cap on the low side. It’s blazing hot today. Probably 109 degrees out here today.
Just going to try to get this going and get off the roof. It’s pretty humid today too, so not the easiest day to be up here. Looks like the Schrader valve cap needs to come out with the cap. It’s kind of stuck on the end there.
Make sure we recover that. There’s our o-ring. Put that back in the cap for later use.
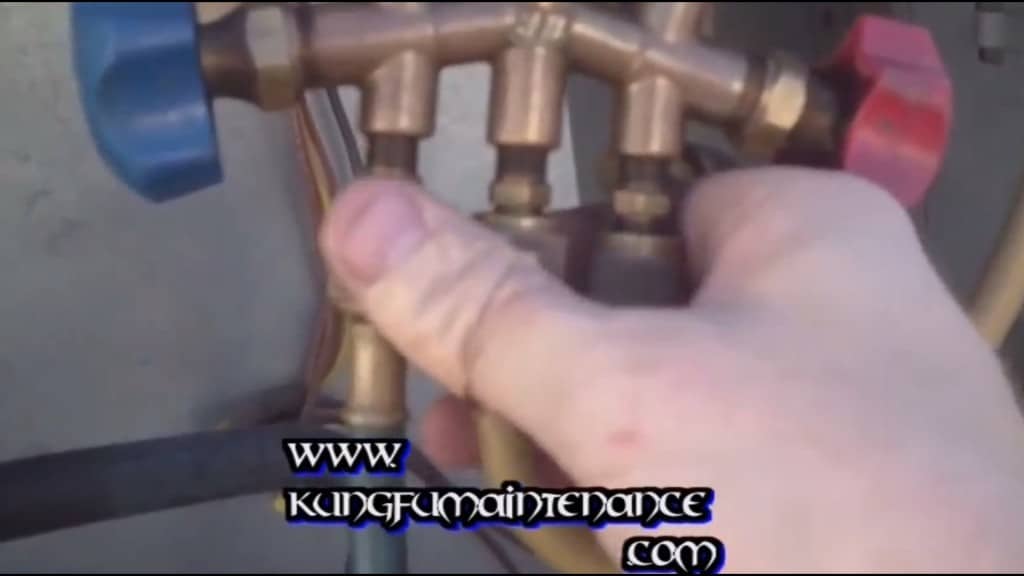
Now we’re going to hook up our quick connect fitting. This is a low loss fitting. Prevent frostbite. Want to wear gloves. Wear safety glasses.
Now we can check our reading up top. See what our pressures are. So we’re showing at about 30, which means we’re just a little bit low. And purge the line.
Make sure all the valves are tight here. Pick up our refrigerant can at the end. Got my can of refrigerant up here. Going to set it up top and run the middle line.
Charging port hooks up to the tank of refrigerant. OK. Open the line.
And back down here, we’re going to go ahead and purge. Purge the line. Purge both sides. Now we’re ready to charge air.
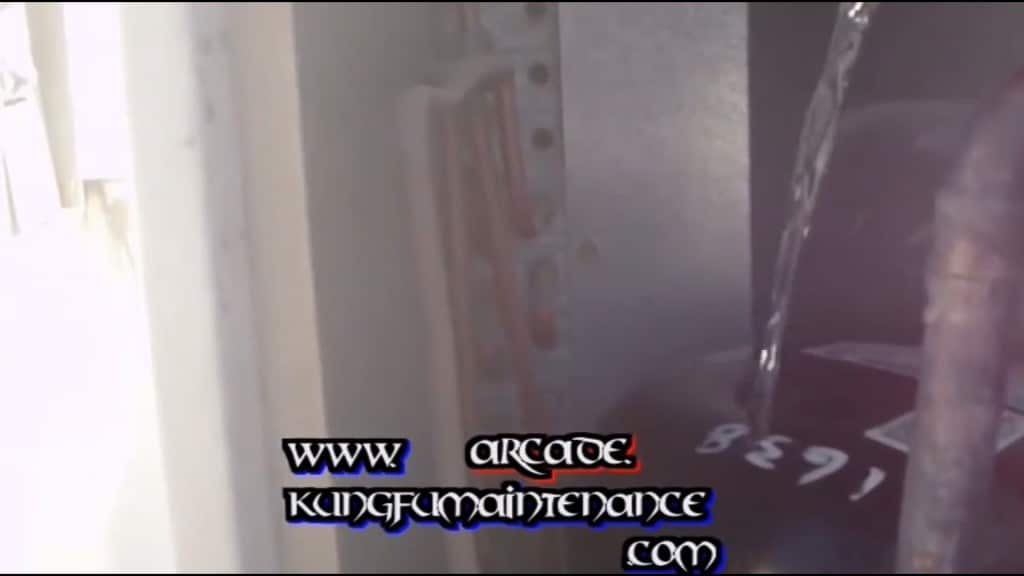
Now, because the compressor is really hot, I’m going to dump some cold water. All I have today is cold water. And I actually prefer to use a little bit of ice to cool it down, speed up the charge. But I’ll be using the cold water instead.
So this has been in the fridge for a while. That will help speed the charge up. Going to monitor the line. It’s already starting to feel a bit colder. I’m monitoring it with my wrist here.
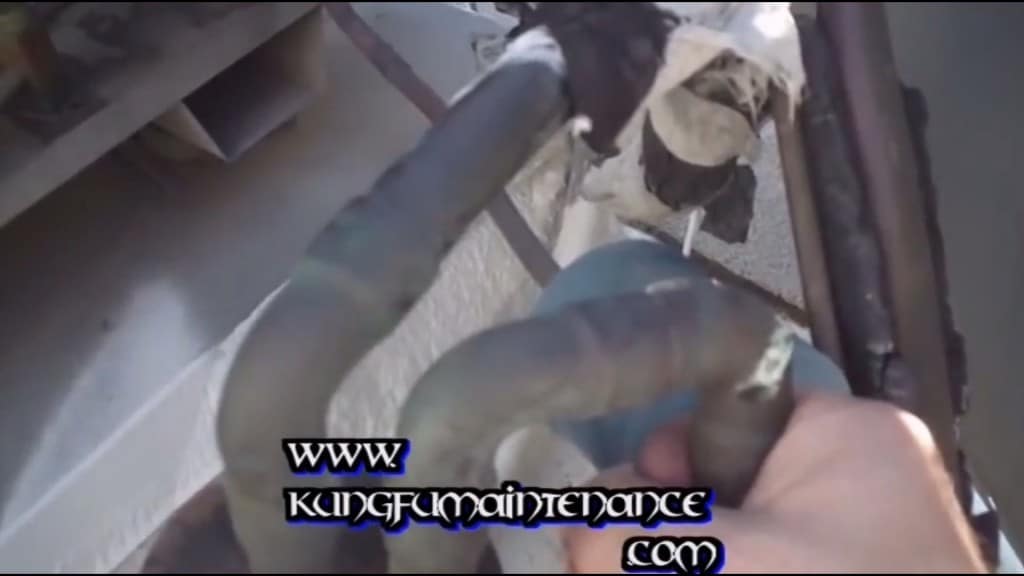
What we wanted is for this line here that goes down to the evaporator. And the temperature at the evaporator will start to backtrack up this line to the compressor. This is the suction line. It’s why we’re sucking in the refrigerant there from our tank up top here.
But what I have is capillary tube system at my evaporator coil. And the capillary tube system is a metering device that only lets so much refrigerant through at a time. Now the deal is, the temperature of the evaporator coil needs to be about 40 degrees, which is above freezing. You know, water freezes at 32 degrees. So just keeping that coil temperature up above that amount will mean that our coil is not going to freeze up, and we’re going to be removing heat from inside the unit.
Now as the evaporator coil reaches its 40 degree temperature, it’ll back up into this line. So this low side line is nice and chilly. And that’s going to tell us that our evaporator is that cold also. So that’s how we can kind of monitor and charge this unit up, charge it to where we need it to be.
Again, with the capillary tube system, it’s pretty forgiving. You’d have to really try to overcharge it. Obviously, you don’t want to overcharge it. You want to avoid overcharging.
But again, it meters the refrigerant at a fixed orifice rate. It’s a fixed size. Only lets so much refrigerant through at a time.
You don’t want to overcharge. Because if you do, what you get is what’s called fracternization. You’ll hear the compressor fighting against that charge at the compressor. So we don’t want to overcharge. But again, with the capillary tube system, you’d have to try really hard to overcharge.
So that’s why I’m just charging up through the low side today. The other reason that I really don’t like monitoring through the high side is it traps a lot of refrigerant in the hoses itself. And you haven’t released all that refrigerant when you’re finished.
So this way, we can charge by feel. And we can monitor the conditions inside the unit. Inside the unit, we’re going to look for a 15 to 20 degree split at an in going and an outgoing register. So where the unit’s going in, we can make sure our pressures are good that way, our temperature’s good that way, and our unit’s doing what it should, removing the heat like it should.
So again, trying to get this going and get off this roof as quick as I can. It’s blazing hot. It’s about 109 today. And I tell you. It feels a bit hotter. It is pretty humid today.
So the faster I can get off of here will prevent heat stroke. And I’ve got a bunch of other things to get done too. So we can get this done.
If you begin adding the cool water. As you’re charging, if you feel your cold sideline while you’re charging and while you’re adding ice, you’ll feel the difference. You’ll feel the refrigerant start to draw in a lot faster when the compressor’s being pulled down.
OK, we’ll follow this up with the micro leak additive. I’ll seal off any pin-hole leaks that are in the evaporator. This one is mostly holding its charge. It seems to be going a little bit low on our freon about once a year. You can see on our green dial here, we’re showing about 42.
Now you won’t get an accurate pressure until you actually turn the refrigerant off. So you can turn the dial off. And then you’ll get your reading as the needle bounces back to what your reading is. Like, this one is showing about 42, which is good. I like to see at 40, 40 to 44, somewhere in there on the low side.
Monitoring your pressure on the high side is actually a more accurate method of charging to determine your pressure temperature relationship. But I’m going to save that story for another day. Again, it’s blazing hot out here.
Just understand that if this line is getting cold, then it’s getting cold at your evaporator coil. And the temperature of this line can only be colder at your evaporator coil as long as your system is running and that you have some refrigerant in the system. Because at the evaporator is where things happen, where the refrigerant changes its state and heat is absorbed. Again, I’m going to add some more cold water. Got to speed up the charge.
OK, got our unit charged up here. Around here, it’s going nice and chilly. You can see it condensating just a tiny bit. Sweating just a tiny bit. You can see it on the top.
44, 45 on a green dial for r22 . I think we’re good there. Now we’re ready to detach our hose.
Here. And we’ll make sure to put our Schrader valve cap back on and make sure the o-ring’s inside there. We’ll go ahead and put it back on.
I like to tighten these down about a quarter turn past tight. Our pliers Make sure everything’s good there.
There we go. Nice and tight. Now we can come back up top here. Turn the refrigerant can off.
OK. Pull our refrigerant back down. There we go.
Now everything’s nice and cool here. So now we can release the refrigerant. We don’t want to keep anything trapped inside there. So now it’s showing zero again. Good here.
And we can disconnect our line. And we’re ready to get off the hot roof. One unit charged up. Now we can just follow it up with the micro leak additive, and we’re good to go. One unit back to nice and chilly.


