cold

Five Most Common Problems With Refrigerators ~ Blog

Ok, today I am going to be discussing with you the five most common problems with refrigerators.

0:18 Number one is a stuck fridge fan. When you open your fridge and it is in it’s run cycle you should hear the sound like you are hearing now, the fan motor spinning. Sometimes what happens is the fan blades get stuck against the side or the fan blade itself goes so far back that it seats against the motor and than the blades get stuck and don’t turn.

0:42 Second most common problems with refrigerators is drips from the ceiling. Now if it’s just small drips it can be caused by food put in that’s hot like boiling or something that had boiled and than set in the fridge without a cover on it. The way to eliminate that is to keep a cover on your food.

But if your seeing excessive drips from the inside center here then it may indicate that you have a clogged condensate drain which is a very common problem with refrigerators.

01:11 The third most common problem with refrigerators is the compressor not running. If you listen back here you can kind of hear the hum of the compressor. So if you don’t hear that sound that low humming sound that’s different from the fan going than your starter may need to be replaced on the compressor.

01:31 The fourth most common problem with refrigerators is torn gaskets. The way that you prevent that from happening is to clean the gaskets here often, and to clean the fridge surface here often, where it mates. What happens is sticky foods stick in there and than pulling apart from the gasket
eventually can tear the gasket wear out the gasket so that’s the way to
kind of prevent it.

Each door manufacturer is different so you might have to consult your directions on how to replace your gasket. Some of them will have screws along the inside portion here of the gasket in order to change it.
Others will have a press in place groove that the gasket gets pressed into.
Others the entire door portion will pull apart so that you can replace the gasket. So each kind is just slightly different.

02:20 And the fifth most common problem with refrigerators is being off balance. What you want is for when you let your fridge door go you want it to just close nice and gently and close all the way.

You want the fridge to aim towards the back just a tiny bit so that condensate goes down and stays along the back of the fridge and settles into the pan that’s on the back on the top of the compressor usually. But anyway, you want your fridge to angle towards the back just a tiny bit.

If your fridge is off balance there is usually an adjustment screw here.
Or some fridges have a wheel that is turned here. This ones got a wheel that’s turned, as you can see, one on each side. And these can be adjusted
just by lifting up a little bit on the fridge and than turning this either by hand or with channel locks.

So that’s the five most common problems with refrigerators.
Posted by Kung Fu Maintenance in The KFM Blog, Tips, 0 comments

Washing Machine: Five Most Common Problems Blog

Washing Machine: Five Most Common Problems Blog

OK, today I wanted to go over the five most common problems with washing machines with you.

00:19 The number one most often problem with washing machines is a washing machine that doesn’t drain or spin, most often caused by a broken lid switch.

You should hear a click as this goes into place. If you don’t hear that click then your, or if your washing machine is not going into its final cycles
it’s most often this lid switch here.

Sometimes you can just press on this right side and get it to engage the switch. Also occasionally you can just adjust the post a little bit
so that the post will stick further into the switch which will engage the switch. Also sometimes you can just adjust the switch or tighten it up.
Often it needs to be replaced I have a video on that.

01:05 Second most often problem with washing machines often goes undetected something you’d probably want to check regularly is that your agitator dogs are working properly. What it should do is turn the bottom one-way or the other. So this one is turning it like it should and the agitator dogs are functioning. Now if it’s not doing that than your clothes are just getting rinsed. They are not really getting washed. It is an often missed
problem with washing machines. And it is probably very common because the agitator dogs inside here are designed to break if someone’s arm was to get stuck in here or if something was to bind up too much the agitator dogs will actually strip on purpose as a safety mechanism.

01:50 Third most common problem with washing machines is a clogged pump at the impeller. Sometimes a penny or a button, or something else, a bobby pin, whatever goes down the drain line and gets stuck at the pump.

02:05 Fourth most common problem is a leak. Most often leaks occur up on the left side.

Fifth most common problem is a washing machine out of balance. Now the most often cause of the machine being out of balance is just a matter of redistributing the clothes. Usually a towel or something gets on one side and you hear the whump whump whump whump of the machine.

What you need to do is open the lid and than go ahead and readjust the clothing or go ahead and readjust the towel. Readjust the items in the bin to get it more balanced. Then go ahead and run it again see if it works out and you have no more out of balance deal.

Sometimes you could lose a spring. Most often times it’s just that the
machine is out of balance. Eventually I’ll have to make you a video showing you how to reset the spring if it did come off.

There are three different shocks and then there is a spring that holds the machine basin in place.

Now the way to check if your machine is still in balance is just ahead and run it empty with water. Let the water fill up. If the machine finds its balance than you know it was just a matter of the clothes or the laundry items being out of balance

Anyway that is the five most common problems with washing machines!

~ TFW ~..~ KFM ~

Posted by Kung Fu Maintenance in The KFM Blog, Tips, 0 comments

Fridge Not Cooling ~ First Thing To Check For Blog

00:13 Got A fridge not cooling here
00:15 and you can hear the compressors kicked on
00:19 but you can hear one of the first things to check for is that the fan is not kicking on
00:25 so it could just be that the fan is stuck
00:28 so
00:29 what we’re gonna do is remove this ice tray deal
00:33 just by pushing up here
00:36 and sliding this out and there is two screws on the back that hold the fan channel in
00:42 so I’m gonna remove these two screws here
00:46
00:51 and this is one of the first things to check for when you’ve got a fridge that is not cooling
00:56 check for a stuck fan motor first
01:00 now that may not be the only thing going on
01:04 lift this fan channel up here and slide it out
01:07 ok
01:10 and there is our fan, you can see it’s not spinning very fast
01:14 It should be spinning faster than that
01:18 And chances are what it is is that it is too close
01:23 the fan blade is too close
01:24 see how it was rubbing against the back
01:27 and that’s why it wasn’t spinning very fast
01:29 so what I’m gonna do is pull that forward a little bit more
01:36 it’s probably a little bit safer to
01:39 turn the power off first but I’m just gonna get this done
01:44 ok
01:45 I took the whole thing off there
01:48 anyway place this on and now it’s out a little bit more and doing what it should now that was keeping the air from being able to blow down into the fridge and the freezer wasn’t circulating the air like it should
02:13 behind the fan channel on this side it’s got an adjustment here
02:14 you usually don’t have to adjust these to much
02:17 but if you wanted your freezer to be colder or needed your freezer to be colder you can adjust this dial by pulling out and turning that, each model has it’s own peculiarities. Ok now that we’ve got the fridge fixed theoretically what we need to check for is
02:34 under the pan to see if there is any ice there which there probably is and the freezer drain line is probably clogged
02:40 The way we can tell this is if we’ve got water dripping
02:43 down here
02:44 which we do so were going to need to clear that out
02:47 but I will put that on the next video.

Posted by Kung Fu Maintenance in The KFM Blog, Tips, 0 comments

Procedures For Charging an A.C. to Prevent Getting Moisture In System

~~~~~~~~~~~~~~~ Danger High Voltage!~~~~~~~~~~~~~~~~~~~~~~

~~~~You must be EPA certified to perform these repairs.~~~~~~~~~

~~~~~~~~~~~~Always wear gloves when handling~~~~~~~~~~~~~~~
~~~~~~~~~~~~~refrigerants to prevent frostbite.~~~~~~~~~~~~~~~~

~~~~~~~~~~~~Always use quick connect fittings.~~~~~~~~~~~~~~~~

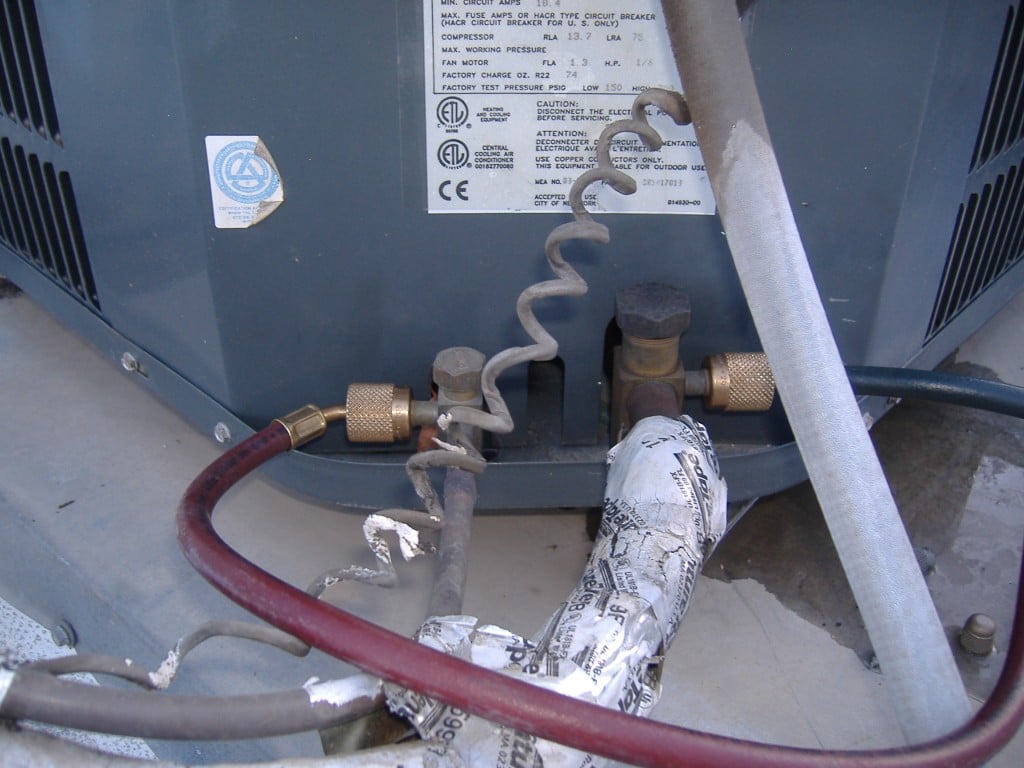
High and Low Side Hook Up at Service Ports

High and Low Side Quick Connected

If you have an air conditioner that is not cooling, first prove that the compressor is running. Touch the low (also called the liquid or suction) side line coming from the compressor. If it is not cold to the touch, this is a sign that the A.C. unit is low on refrigerant.
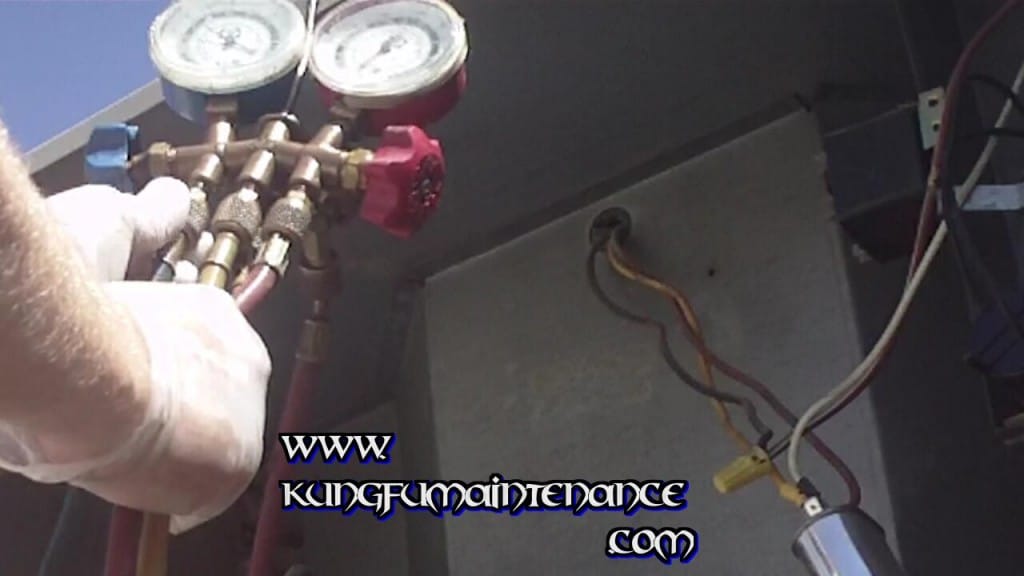
To charge the A.C. system, first calibrate your gauges. (To be safer you can pull the disconnect, and discharge the capacitor before setting up gauges. To check the unit pressures and add refrigerant you will need to turn the unit back on.) Prove that the hand valves are turned off. Next remove the suction line schrader valve cap for the low side and hook up your blue cool side line to the port with your quick connect. Next crack the blue side service valve below your dials to purge any air from the line. This is called a “deminimus release” it uses the refrigerant to force the air from the line purging the air containing moisture from the hoses. Air contains moisture and if it let into the unit will mix with the refrigerant gas and turn into acid causing leaks and reaking havoc on the system.

Low Side Deminimus Release

Cracking the Low Side Service Valve

Repeat the same process for the high side. Attach the red gas side line to the high side port and purge the air from the line by cracking the line at the service valve again using a tiny bit of the refrigerant to force the air out of the hose.
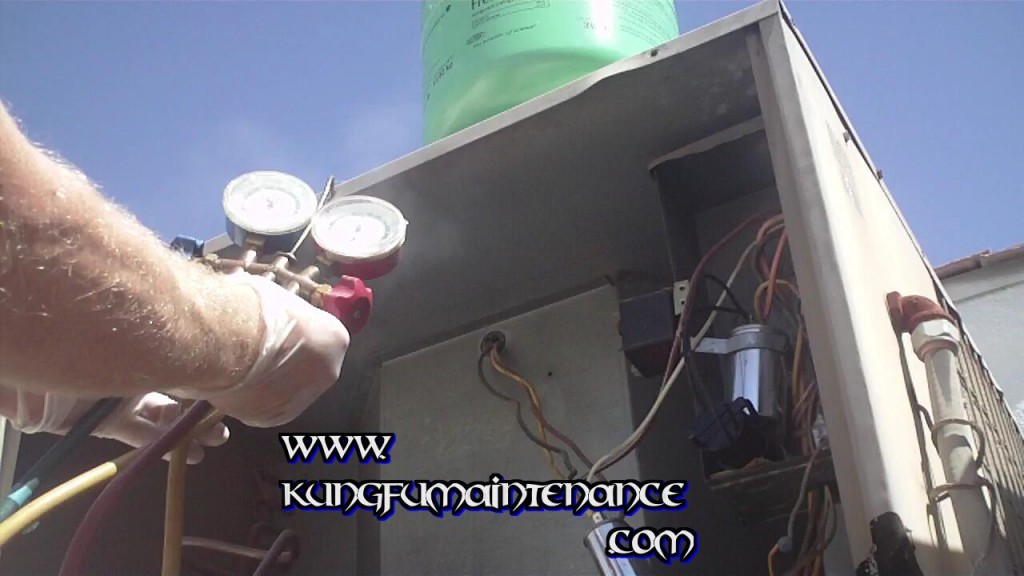
Next hook up the yellow service valve hose to your refrigerant bottle with the service line quick connect. Keep the can valve side up for vapor charging (except for very specialized applications) thereby avoiding putting liquid in the plumbing to prevent liquid slugging of the compressor pistons and premature compressor failure that would be like an air conditioner heart attack. Open the refrigerant can valve and purge the service hose by cracking the yellow line service valve for a quick second.

Deminimus Release

Deminimus Release

Your gauges (If in good working order and calibrated) will now give you a good show of what is in the system. The outer rings on the gauges show PSI( pounds per square inch) and the inner colored dials show the pressures for accordingly colored types of refrigerants. (Each type of gas has a different temperature pressure relationship but I will save getting into that for another time.) For example, green is for r22(Right now, arguably the most widely used freon (Soon to be phased out according to the Montreal Protocol, (check my blogs on Isceon).

Now you are ready to charge the unit. Open the blue side service handle and you will hear the refrigerant being sucked into the system. I f you are charging R-22 what you wan’t is ambient temperature plus thirty degrees on the high side. If the temperature is eighty five degrees outside then you will be looking for one hundred fifteen on the green r22 high side dial. Each system is a little different so this is only a very basic example.

One method of proving good pressures is measuring the temperature at the evaporator coil. The ideal temperature for the evaporator for most freons is forty degrees. Another method is to check the temperatures with thermometers for a fifteen to twenty degree split between the air going into the intake vent and the air coming out of a distribution register.

Each set up is a bit different. This is only a very basic example, with a few apps for measuring good refrigerant charge, not so much rules. You must digest the information in relation to the specifics of your particular components, area practices, and manufacturer recomendations.

~~~ Keep it Real ~ Nice and Chilly ~~~

~~~~~~~Kung Fu Maintenance ~~

~~~~~~~~~~ P.S. ~ Stay Cool ~

Posted by Kung Fu Maintenance in Air Conditions, The KFM Blog, Tips, 2 comments