~~~~~~~~~~~~~~~ Danger High Voltage!~~~~~~~~~~~~~~~~~~~~~~
~~~~You must be EPA certified to perform these repairs.~~~~~~~~~
~~~~~~~~~~~~Always wear gloves when handling~~~~~~~~~~~~~~~
~~~~~~~~~~~~~refrigerants to prevent frostbite.~~~~~~~~~~~~~~~~
~~~~~~~~~~~~Always use quick connect fittings.~~~~~~~~~~~~~~~~
If you have an air conditioner that is not cooling, first prove that the compressor is running. Touch the low (also called the liquid or suction) side line coming from the compressor. If it is not cold to the touch, this is a sign that the A.C. unit is low on refrigerant.
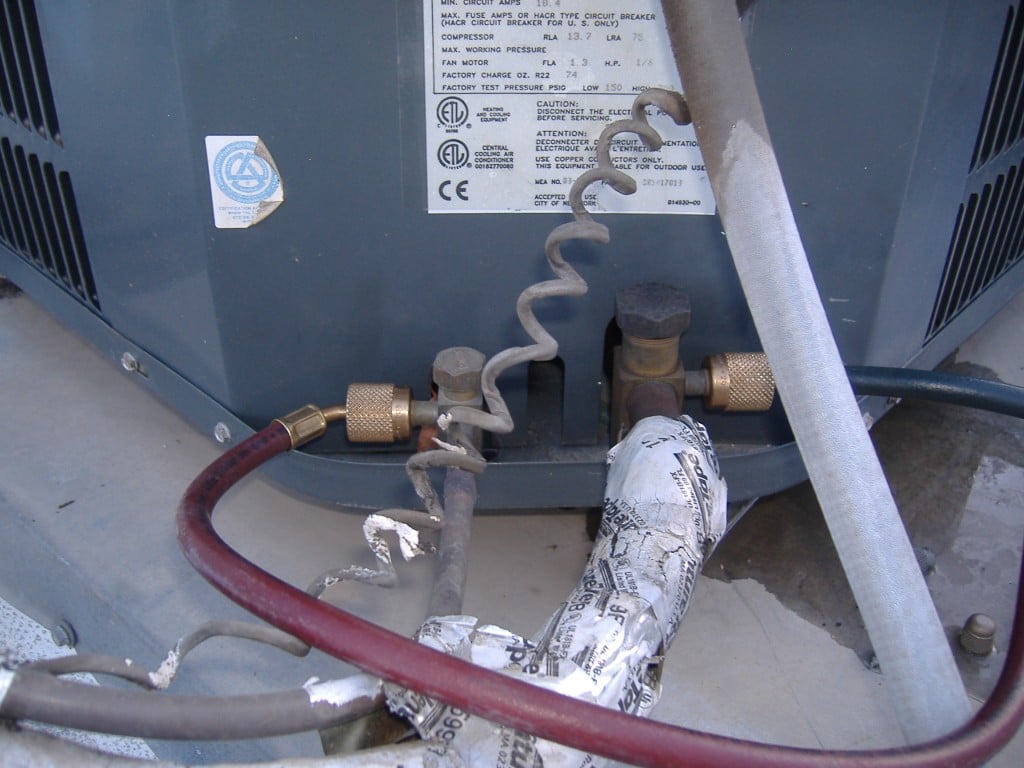
To charge the A.C. system, first calibrate your gauges. (To be safer you can pull the disconnect, and discharge the capacitor before setting up gauges. To check the unit pressures and add refrigerant you will need to turn the unit back on.) Prove that the hand valves are turned off. Next remove the suction line schrader valve cap for the low side and hook up your blue cool side line to the port with your quick connect. Next crack the blue side service valve below your dials to purge any air from the line. This is called a “deminimus release” it uses the refrigerant to force the air from the line purging the air containing moisture from the hoses. Air contains moisture and if it let into the unit will mix with the refrigerant gas and turn into acid causing leaks and reaking havoc on the system.
Repeat the same process for the high side. Attach the red gas side line to the high side port and purge the air from the line by cracking the line at the service valve again using a tiny bit of the refrigerant to force the air out of the hose.
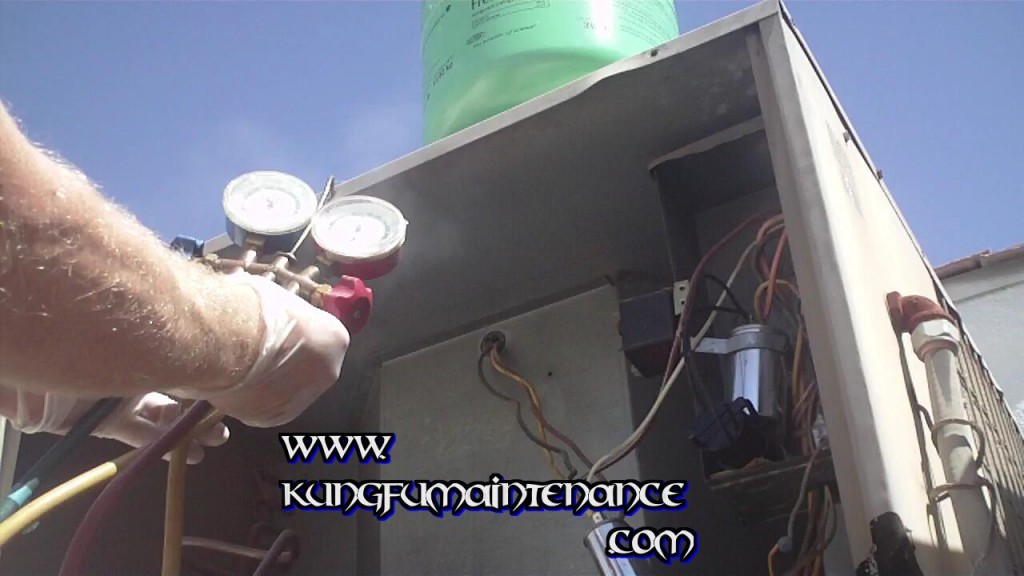
Next hook up the yellow service valve hose to your refrigerant bottle with the service line quick connect. Keep the can valve side up for vapor charging (except for very specialized applications) thereby avoiding putting liquid in the plumbing to prevent liquid slugging of the compressor pistons and premature compressor failure that would be like an air conditioner heart attack. Open the refrigerant can valve and purge the service hose by cracking the yellow line service valve for a quick second.
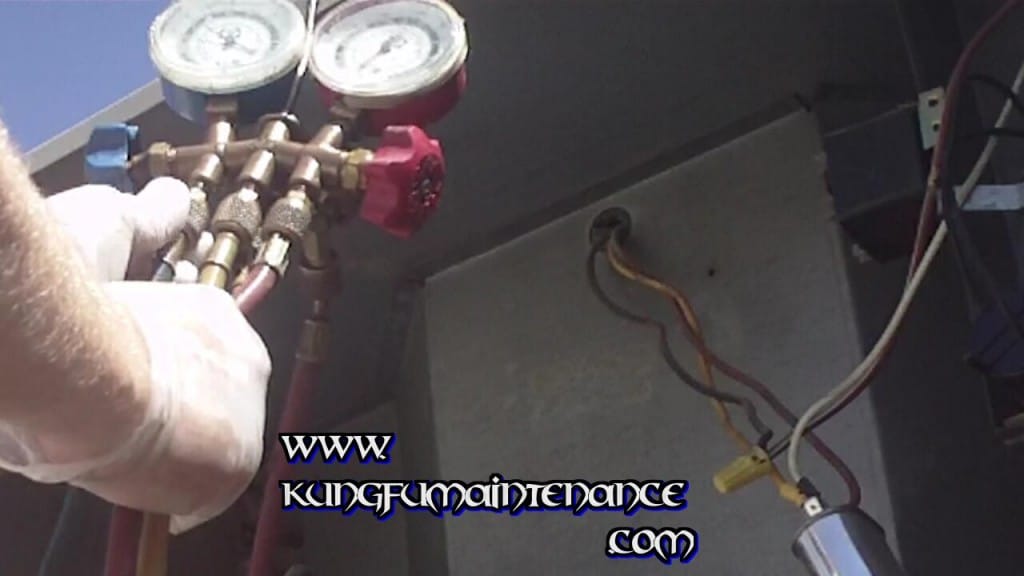
Your gauges (If in good working order and calibrated) will now give you a good show of what is in the system. The outer rings on the gauges show PSI( pounds per square inch) and the inner colored dials show the pressures for accordingly colored types of refrigerants. (Each type of gas has a different temperature pressure relationship but I will save getting into that for another time.) For example, green is for r22(Right now, arguably the most widely used freon (Soon to be phased out according to the Montreal Protocol, (check my blogs on Isceon).
Now you are ready to charge the unit. Open the blue side service handle and you will hear the refrigerant being sucked into the system. I f you are charging R-22 what you wan’t is ambient temperature plus thirty degrees on the high side. If the temperature is eighty five degrees outside then you will be looking for one hundred fifteen on the green r22 high side dial. Each system is a little different so this is only a very basic example.
One method of proving good pressures is measuring the temperature at the evaporator coil. The ideal temperature for the evaporator for most freons is forty degrees. Another method is to check the temperatures with thermometers for a fifteen to twenty degree split between the air going into the intake vent and the air coming out of a distribution register.
Each set up is a bit different. This is only a very basic example, with a few apps for measuring good refrigerant charge, not so much rules. You must digest the information in relation to the specifics of your particular components, area practices, and manufacturer recomendations.
~~~ Keep it Real ~ Nice and Chilly ~~~
~~~~~~~Kung Fu Maintenance ~~
~~~~~~~~~~ P.S. ~ Stay Cool ~


