Here goes how to replace the hot and cold stems. I’ve got my water turned off outside. And opened up the hose bib, is lower. And now I’ll make sure I open the lines to drain all the water out.
And what you want to use for this is a set of deep sockets.
And this can slip over the compression fitting.
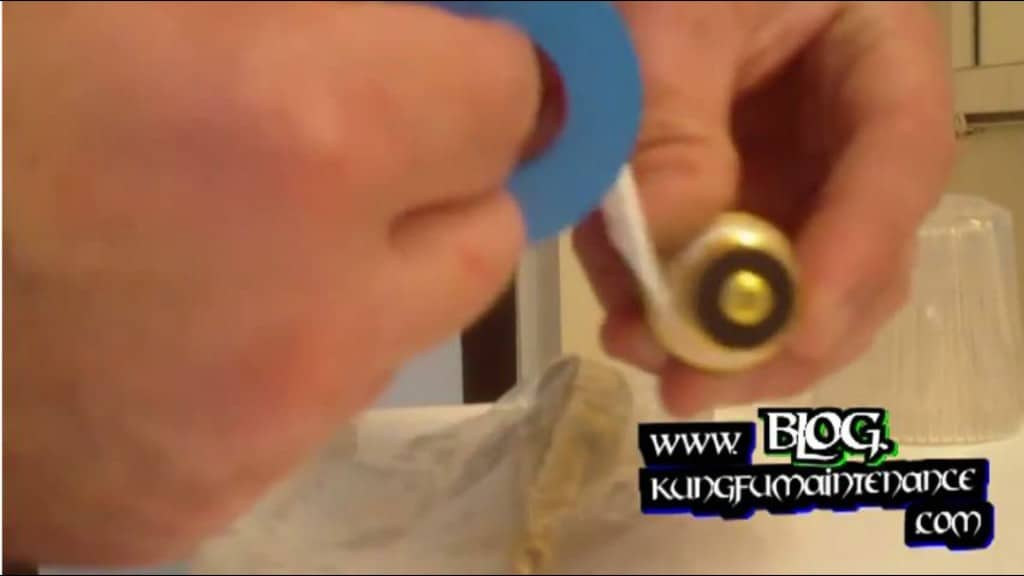
We’re just putting on the little plastic washer that comes with the kit. You want to make sure you use that for the seat washer. And then putting on the Teflon tape. About three or four turns, skipping the first one or two threads.
The easy way to use Teflon tape is put the roll at the back. And this allows you to tape it like so. Again we want to skip the first one or two threads, so, here we go. We can do that just by twisting the roll a little bit, so it’s nice and tight.
OK, and it’s four turns around. Break it off. And now that one’s ready.
Going with the threads, will allow the Teflon tape to tighten up against it as we thread it in.
Here goes the second set, again making sure we get this little plastic washer.
You can actually rebuild these by replacing the bibb washer, and replacing the washer that’s inside here. Let me show you that. See the little sleeve washer there? And this just pushes that down. So we’ll get that threaded in there.
OK. And this one just pretty much gets finger-tightened. And if you need to tighten it further, we can check it for leaks once it’s in place.
Anyway we can, we’re going to skip the first one or two threads. And just wrap this with our Teflon tape about three or four turns.
You’ll see this often installed without Teflon tape. Which is fine. You can install these without Teflon tape. But the Teflon tape just makes it easier to remove in the future, if you ever need to. And also if there was any irregularities in the material, it can kind of fill in those voids. And I just find it a lot less troublesome down the road, so.
Now that we’re all set up there, we’re ready to remove the old ones.
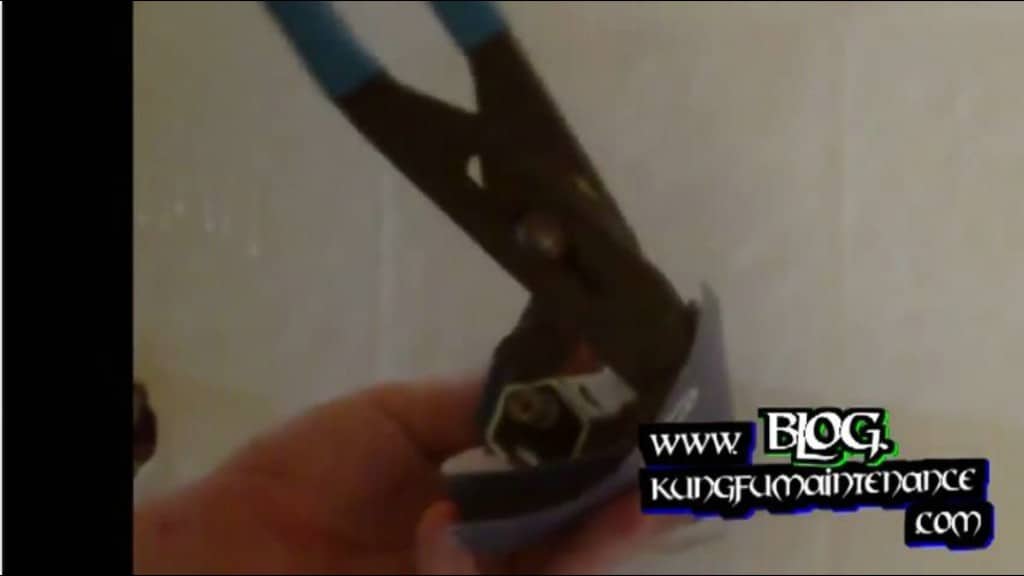
If you have something laminated, or even just a piece of paper, putting it in there can divert any leftover water. Minimize the amount of water. That way it’ll spill out into your shower instead.
There we go, like so.
And sometimes there will be a residual of water in there, ready to come out at us. See? But out diversion tactic has worked exactly how we want it to. So I’m just going to hold that in place until it stops.
This one, you can see the old washer, on the back. So that’s good. We got the old one out. And we also want to peek inside there, and make sure everything’s clear. Which this one is.
Here’s our new one. And we got our washer on there. And we’re just going to take care, not to get it cross-threaded. This one’s a little tight. I push down on the other side to see if I can get it to push down a little bit. I can move it over by pushing on the hot side. Here we go.
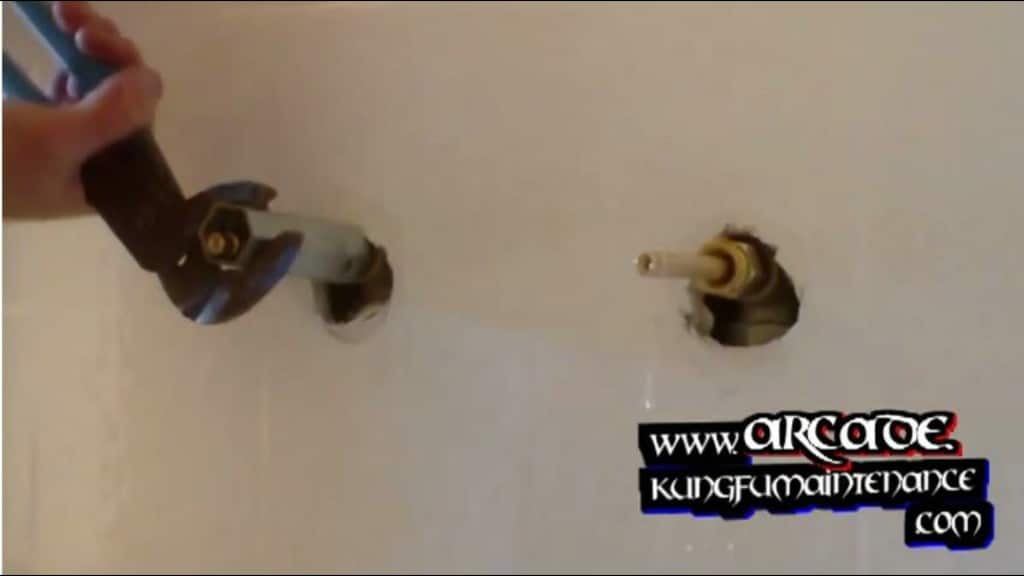
Beautiful. OK. Now we can tighten down with a tool. And then with our channel locks, we’re just going to go a quarter turn past tight.
And then on this, we’re just going to finger-tighten it down. And we’ll come back and leak test everything once we turn the water back on.
Now for the hot side, same thing. Again can, try to use the piece of paper to redirect any water outside, instead of it going in the wall. There. So our diversion is working there.
We’ve got our new cartridge. And we’re, now it looks like we’re missing the plastic on this one. So we’re going to want to check inside the front lip here, and see if it’s in there. So I put that on my screwdriver, make sure everything’s clear. And everything’s clear there. So OK. We’re ready to insert our new cartridge.
Just twist it into place. Making sure it’s not cross-threaded. And now we can use the deep socket. OK. Now it’s tight, and we’re just going to go a quarter turn past tight.
Get rid of this.
And we’re just going to finger tighten this one.
OK, and now we’re ready to turn our water on, and check for any leaks.
When turning the water back on, it’s ideal to go ahead and open the line. That way it pushes any air that’s in the line out, from the same place that we opened it at. So we can purge the air.
So I’m going to go run down and turn the water on. I’ll be right back.
Aim this out here so you don’t get wet.
Now we can examine down inside here. It looks like this one’s leaking a little bit from the handle here. So we can go ahead and tighten that up a little bit. We can see it’s dripping there, just a tiny bit.
And it looks like the same on this side. Perfect. Now we’ll go ahead and turn the water off.
There we go.
Hot and the cold.
And now we can peek down inside there and sure there’s no leaks. So we’re looking good there.


